Measurement of fixed chordal tooth thickness
Fixed chordal tooth thickness is a crucial parameter for measuring tooth profile accuracy in gear transmissions. It refers to the chord length between two symmetrical points on the gear tooth profile. These two points are located a fixed distance (typically 0.785 times the module) from the tooth addendum. This measurement is closely related to the gear’s module, number of teeth, and pressure angle. Measuring fixed chordal tooth thickness is simple and accurate, making it widely used for quality inspection on-site during gear manufacturing. It is particularly useful for inspecting medium-precision gears (grades 6-9), effectively reflecting tooth profile quality and meshing performance. Mastering the measurement method for fixed chordal tooth thickness is crucial for ensuring the smoothness and reliability of gear transmissions.
The principle of measuring fixed chordal tooth thickness is based on the involute characteristics of the gear tooth profile. Based on the involute equation, the calculation formulas for fixed chordal tooth thickness (s_c) and fixed chordal tooth height (h_c) are: s_c = mπ/2 cos²α, h_c = m(1 – π/8 sin²α), where m is the module and α is the pressure angle (α = 20° for standard gears). For standard gears, when α = 20°, s_c ≈ 1.387m and h_c ≈ 0.747m. These formulas provide a theoretical basis for measurement. During measurement, the chord length corresponding to the fixed chordal tooth height on the tooth profile is measured using specialized measuring tools (such as a gear vernier caliper or optical tooth thickness gauge). The actual measured value is compared with the theoretically calculated value to determine whether the tooth thickness meets the requirements. Fixed chordal tooth thickness measurement is unaffected by the number of teeth on the gear. This advantage is particularly evident for gears with fewer teeth (e.g., those with fewer than 12 teeth), where the accuracy of the normal length measurement is reduced due to the smaller number of teeth spanned.
Gear vernier calipers are the most commonly used measuring tool for fixed chordal tooth thickness. They consist of two perpendicular vernier calipers: the vertical caliper measures fixed chordal tooth height (h_c), and the horizontal caliper measures fixed chordal tooth thickness (s_c). Before measurement, the theoretical h_c and s_c values must be calculated based on the gear’s module and pressure angle. The vertical caliper’s reading must be adjusted to the h_c value. The tool’s two jaws are then inserted into the tooth groove, ensuring the jaws’ measuring surfaces align with the tooth profile. The horizontal caliper’s reading now represents the actual fixed chordal tooth thickness. When measuring, ensure that the jaws’ measuring surfaces contact the involute portion of the tooth profile and avoid contact with the transition curves at the tooth tip or root, as this can lead to measurement errors. For wide-tooth gears, multiple measurements should be taken at different locations across the tooth width, and the average value taken as the measurement result to minimize the impact of tooth profile errors on measurement accuracy.
An optical tooth thickness gauge is an instrument used for high-precision fixed-chord tooth thickness measurements, achieving a measurement accuracy of up to 0.001mm and suitable for inspecting gears with precision grades 5 and above. The gauge uses an optical system to magnify the tooth profile image and project it onto a screen. The measuring table is moved to bring the measuring jaws into contact with the tooth profile, while the measured value is read using a reading microscope. During measurement, the gauge first sets the fixed chord tooth height based on the gear parameters. The gauge then adjusts the jaws to align with the measuring point on the tooth profile. The contact between the jaws and the tooth profile is observed through the screen to ensure good contact before reading the chord thickness value. The advantage of an optical tooth thickness gauge lies in its ability to clearly observe the contact between the jaws and the tooth profile, reducing operator error. Furthermore, the gauge’s computer data processing system allows for direct comparison of measured values with theoretical values, automatically determining acceptance and rejection, improving measurement efficiency and accuracy.
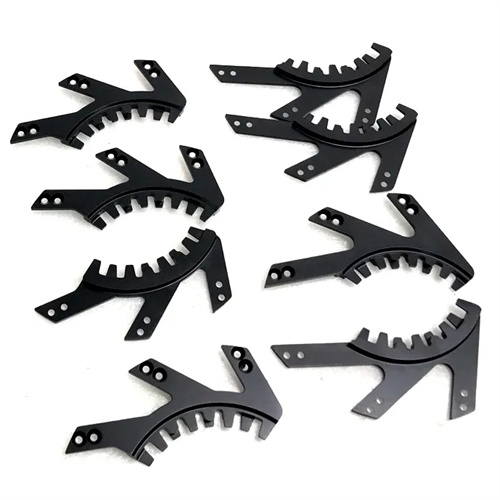
Error control in fixed-chord tooth thickness measurement is key to ensuring reliable measurement results. Common sources of error include gauge error, operational error, and environmental error. Gauge error primarily refers to manufacturing errors and wear of the gear vernier caliper or optical tooth thickness gauge itself. Therefore, the gauge must be calibrated before measurement to ensure its accuracy meets the required standards (for example, the graduation value of a gear vernier caliper should be no greater than 0.02mm). Operational error includes poor contact between the jaws and the tooth profile and inconsistent measuring force. During measurement, the jaws should ensure uniform contact with the tooth profile to avoid excessive force that could cause deformation of the gear or gauge. Environmental error is primarily caused by temperature fluctuations. The gear and gauge have different linear expansion coefficients, and temperature changes can cause errors in the measured dimensions. Therefore, measurements should be performed in a constant temperature environment (generally 20±2°C). Direct contact with the gear and the measuring area of the gauge should be avoided to prevent body temperature from affecting measurement accuracy. For important gears, multiple measurements should be performed, and the average of the results should be taken as the final value to reduce the impact of random errors.
