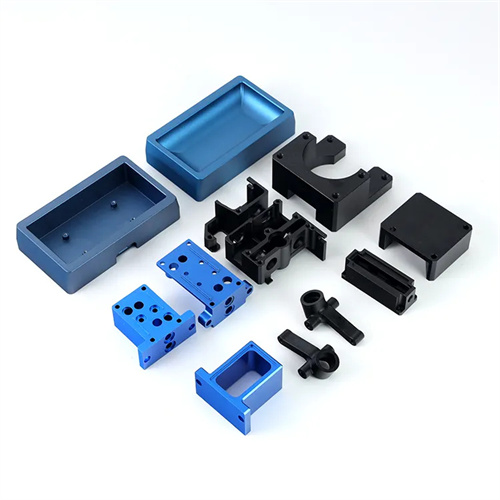
Milling of face gear
Face gearing refers to a toothed structure machined onto the end face of a component. It is widely used in clutches, gear couplings, cutting tools, and other parts. Its primary function is to achieve axial engagement, transmit torque, or position the part. The milling of face gearing requires guaranteed profile accuracy, tooth profile accuracy, pitch uniformity, and surface quality. Due to its unique machining location, the milling process differs from that of external and internal circular gearing in terms of clamping, tool selection, and process parameter setting, requiring targeted process measures.
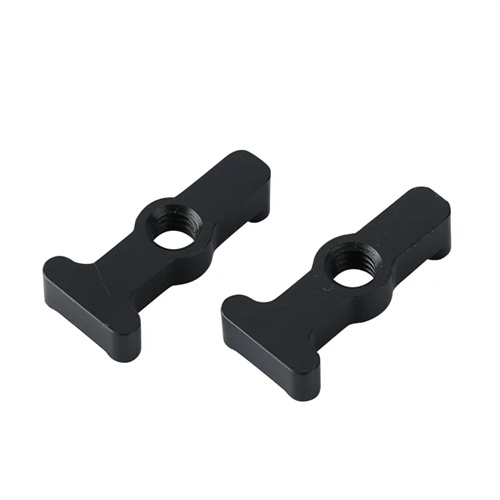
The clamping method for face gear milling directly affects the machining accuracy, and the appropriate clamping method should be selected based on the structural characteristics and precision requirements of the parts. For small and medium-sized parts, a three-jaw self-centering chuck or a four-jaw single-action chuck can be used for clamping, and the axial positioning device can be used to ensure the axial position accuracy of the parts; for large or complex parts, a special fixture is required to improve the clamping rigidity and positioning accuracy. When clamping, care should be taken to avoid deformation of the parts, especially for thin-walled parts, and auxiliary supports or elastic clamping devices should be used. In addition, the positioning datum of the part should be as consistent as possible with the design datum to reduce positioning errors. If necessary, the positioning datum surface can be machined first, and then the face gear milling can be performed based on the datum surface.
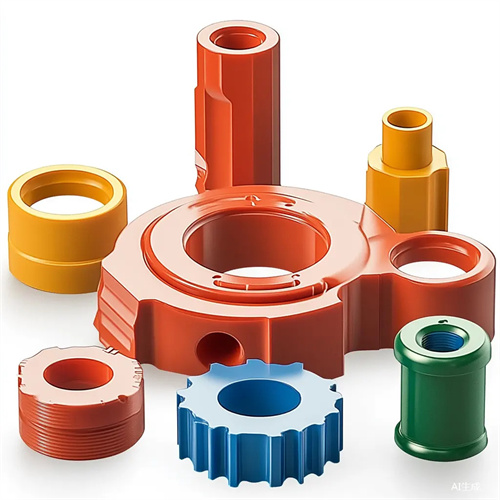
The choice of face gear milling cutter should be determined based on the tooth profile parameters, workpiece material, and machining accuracy. Common face gear milling cutters include disc gear milling cutters, finger milling cutters, and form milling cutters. Disc gear milling cutters are suitable for machining face gears with smaller modules and narrower tooth widths. Their teeth are distributed on the end face of the disc, enabling continuous cutting and high machining efficiency. Finger milling cutters are suitable for machining face gears with larger modules and deeper tooth grooves. Their finger-shaped teeth provide good rigidity and can withstand greater cutting forces. Form milling cutters have a tooth profile that perfectly matches the face gear being machined, allowing the tooth profile to be milled in one go, ensuring tooth profile accuracy. However, their manufacturing cost is relatively high and they are suitable for mass production. The choice of tool material should take into account the hardness and wear resistance of the workpiece material. High-speed steel or carbide milling cutters can be used for machining steel, carbide milling cutters can be used for machining cast iron, and ceramic or cubic boron nitride cutters are required for machining difficult-to-machine materials such as high-temperature alloys.
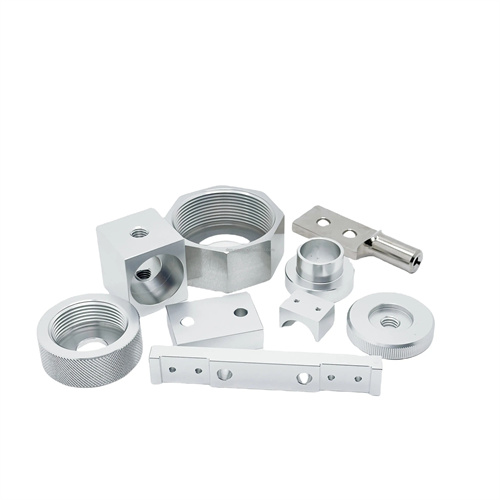
The process parameters for face gear milling include cutting speed, feed rate, and depth of cut. Properly setting these parameters can improve machining efficiency and quality. The cutting speed primarily depends on the tool material and workpiece material. High-speed steel milling cutters have lower cutting speeds, typically ranging from 10 to 30 m/min. Carbide milling cutters have higher cutting speeds, reaching 80 to 200 m/min when machining steel and 60 to 150 m/min when machining cast iron. The feed rate is typically expressed as feed per tooth. A higher feed per tooth (0.1 to 0.3 mm/z) can be used when machining workpieces with good rigidity, while a lower feed per tooth (0.05 to 0.1 mm/z) is used when machining workpieces with poor rigidity or high precision requirements. The depth of cut should be determined based on the machining allowance and tooth profile height. For roughing, most of the allowance can be removed at once, with a cutting depth of 1 to 3 mm. For finishing, the cutting depth should be 0.1 to 0.5 mm to ensure tooth profile accuracy and surface quality.
The face milling process follows the principle of “roughing first, finishing later, and machining in stages.” The primary task of the roughing stage is to remove the majority of the stock and mill the approximate tooth profile. Higher cutting parameters can be used at this stage, but care must be taken to control cutting forces and temperatures to avoid excessive tool wear and workpiece deformation. After roughing, parameters such as tooth pitch and tooth profile are measured, and tool position and process parameters are adjusted based on the results. The finishing stage requires lower cutting parameters to ensure tooth profile accuracy and surface roughness, and multiple passes can be performed if necessary. Cutting fluids should be used throughout the process to cool the tool and workpiece, reduce friction, and improve tool life and surface quality. Emulsions can be used for steel machining, while kerosene or cutting oil can be used for cast iron machining.
Quality inspection after face gear milling is a key step in ensuring product quality. Inspection contents include tooth profile accuracy, pitch deviation, tooth direction deviation, and surface roughness. Tooth profile accuracy can be inspected using a tooth profile template or involute tester to ensure that the tooth profile is consistent with design requirements; pitch deviation can be measured using a pitch gauge or universal gear tester. Adjacent pitch deviation and cumulative pitch deviation should be controlled within the allowable range; tooth direction deviation can be measured using a tooth direction gauge to ensure tooth direction accuracy and avoid eccentric loading during meshing; surface roughness can be measured using a roughness meter. Generally, the surface roughness of face gears must reach Ra3.2~1.6μm. For important face gear parts, meshing tests are also required to check the smoothness of meshing and contact spots to ensure their performance.
