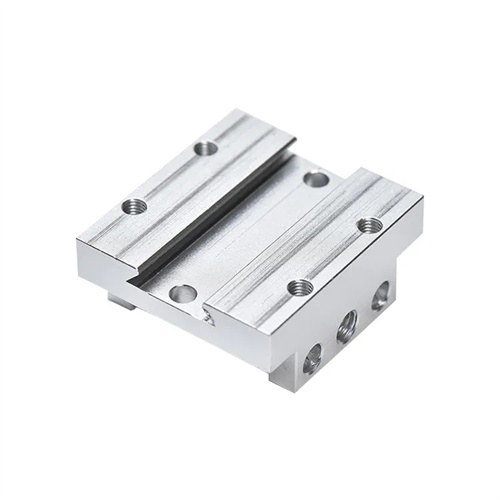
Normal thread tolerances
Common thread tolerances refer to the allowable range of variation in various thread parameters and are crucial technical indicators for ensuring the interchangeability and performance of threaded connections. These tolerances include pitch diameter tolerance, top diameter tolerance, pitch tolerance, and thread angle tolerance. Pitch diameter tolerance is the core of common thread tolerances, directly impacting thread fit and connection strength. National standard GB/T 197-2003 clearly defines the tolerance grades and basic deviations for common threads, categorizing tolerance grades from 3 to 9, with grade 3 being the highest and grade 9 being the lowest. Basic deviations are categorized as G and H (for internal threads) and e, f, g, and h (for external threads). The combination of tolerance grades and basic deviations creates different tolerance zones to meet various fit requirements.
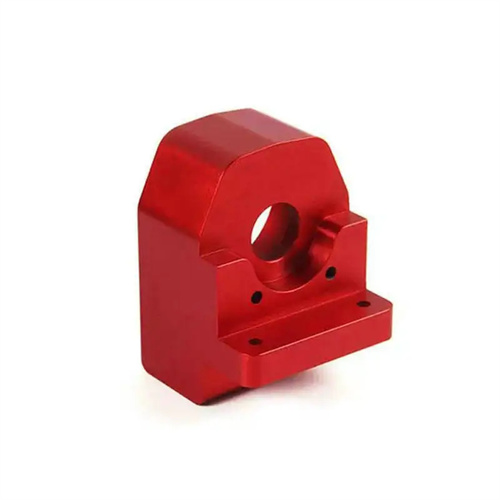
The pitch diameter tolerance is the most important tolerance for common threads. It comprehensively reflects the effects of pitch diameter deviation, pitch error, and profile angle error on thread fit. The pitch diameter is the diameter of the imaginary cylinder where the groove and projection on the thread profile are equal in width. The fit of common threads is primarily determined by the pitch diameter tolerance zone. The clearance, or interference, between the pitch diameter tolerance zones of internal and external threads directly affects the thread’s tightness and load-bearing capacity. National standards specify that the basic pitch diameter deviations for internal threads are G (positive lower deviation) and H (zero lower deviation), while those for external threads are e, f, g (negative upper deviation), and h (zero upper deviation). For example, the pitch diameter tolerance zone for an internal thread M10-6H is 6H, where 6 represents the tolerance grade and H represents the basic deviation. The pitch diameter tolerance zone for an external thread M10-6g is 6g, where 6 represents the tolerance grade and g represents the basic deviation. When selecting the mean diameter tolerance zone, the nature of the fit must be determined based on the use requirements of the thread. Clearance fit is used in situations where loose connections or frequent disassembly are required, transition fit is used in situations where higher centering accuracy is required, and interference fit is used in situations where torque needs to be transmitted.
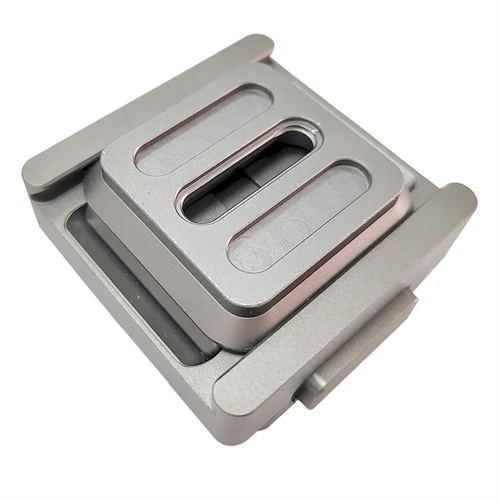
The top diameter tolerance includes the minor diameter tolerance for internal threads and the major diameter tolerance for external threads. While the top diameter is not a key parameter for thread fit, it does have a certain impact on thread strength and fitability. The minor diameter of an internal thread is the diameter at the base of the thread groove and has the same tolerance grade as the pitch diameter, with a basic deviation of H (the lower deviation is zero). The major diameter of an external thread is the diameter at the thread crest and has the same tolerance grade as the pitch diameter, with a basic deviation of h (the upper deviation is zero). The top diameter tolerance is typically smaller than the pitch diameter tolerance. For example, the minor diameter tolerance for an M10-6H internal thread is 0.25mm and the pitch diameter tolerance is 0.224mm; the major diameter tolerance for an M10-6g external thread is 0.15mm and the pitch diameter tolerance is 0.224mm. The main function of the top diameter is to limit the amount of material removed from the thread and ensure thread strength. Therefore, during machining, it is important to ensure that the top diameter does not fall below the minimum limit.
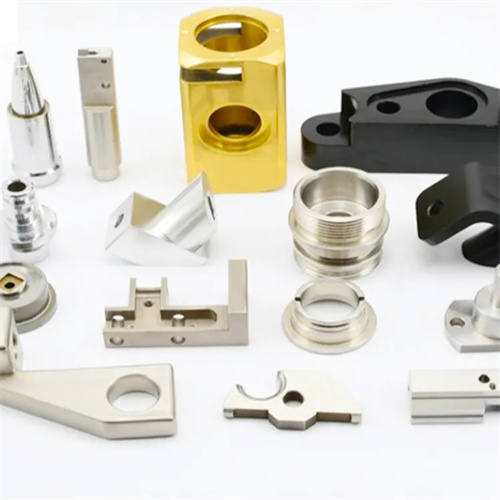
Pitch tolerance and profile angle tolerance are form tolerances for common threads. Although their values are not specified separately in national standards, they are comprehensively controlled through the tolerance band of the pitch diameter. Pitch error, which includes both individual pitch error and cumulative pitch error, can cause interference and additional stress during thread engagement, affecting the smoothness of the connection. Profile angle error, including profile half-angle error and symmetry error, can lead to uneven contact of the thread profiles, reducing load capacity and service life. In actual production, pitch error and profile angle error are converted to pitch diameter deviation using the pitch diameter equivalent method. That is, an error in pitch or profile angle is equivalent to an additional deviation in the pitch diameter. Therefore, the allowable range of these errors is already included in the pitch diameter tolerance band. For example, a cumulative pitch error of 0.02mm is equivalent to an additional deviation of 0.0346mm in the pitch diameter (for a 60° profile angle). Therefore, the impact of these additional deviations must be considered when verifying the pitch diameter.
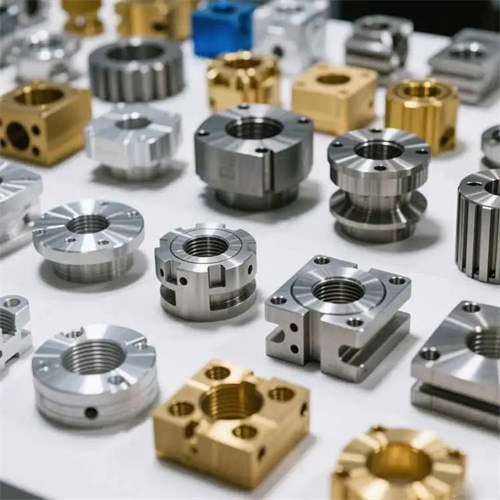
The selection of standard thread tolerances requires a comprehensive consideration of factors such as thread requirements, processing technology, and cost. For general-purpose threaded connections, such as bolted connections in mechanical equipment, a 6H/6g tolerance band combination is typically used, ensuring both connection reliability and cost-effectiveness. For precision threaded connections, such as the mating of machine tool lead screws and nuts, higher tolerance grades (such as 4H/4g) are preferred to ensure transmission accuracy. For rough threaded connections, such as bolted connections in architectural structures, lower tolerance grades (such as 8H/8g) can be used to reduce processing costs. When determining the tolerance grade, the feasibility of the processing technology must also be considered. High-precision tolerance grades (such as grades 3-5) require sophisticated processing equipment and advanced measuring instruments, resulting in higher processing costs. Low-precision tolerance grades (such as grades 7-9) can be processed using conventional lathes, resulting in lower costs. By choosing the right thread tolerance, production costs can be minimized while ensuring performance, thereby improving product competitiveness.
