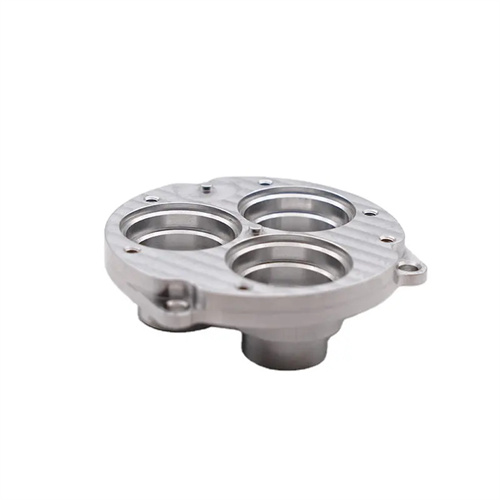
Machining of special-shaped surfaces
Special-shaped surfaces refer to complex, non-circular, non-linear surfaces on mechanical parts, such as spheres, ellipsoids, paraboloids, and surfaces of revolution. These surfaces are widely used in molds, instrumentation, hydraulic components, and other fields. Machining these surfaces requires ensuring contour accuracy (≤0.01mm) and surface quality (Ra ≤0.8μm), a challenge in machining. The main difference between turning special-shaped surfaces and machining ordinary cylindrical or flat surfaces lies in the complex relative motion between the tool and the workpiece. Surface formation requires specialized fixtures or CNC systems. Furthermore, the machining process must address issues such as vibration, chip removal, and measurement, necessitating a tailored process plan.
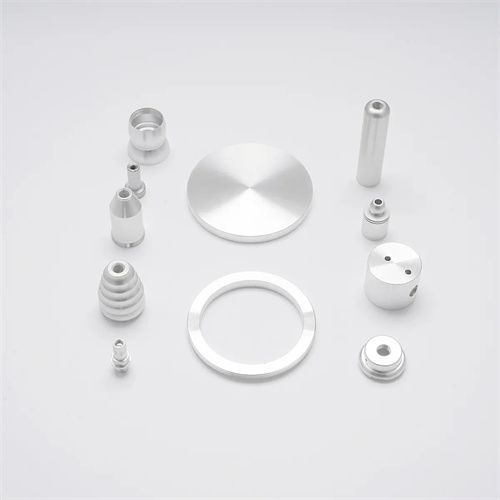
Methods for turning contoured surfaces can be categorized into manual control, profiling, CNC, and specialized tooling. Different methods are suitable for different production batches and precision requirements. The manual control method involves the operator manually controlling the tool’s compound feed, causing the tool tip’s trajectory to form the contoured surface. This method is suitable for single-piece, small-batch production and simple contoured surfaces (such as spherical and arc-shaped surfaces). Machining accuracy depends on the operator’s skill level, with profile errors typically ranging from 0.1-0.5mm and surface roughness Ra 3.2-6.3μm. It is suitable for repair or low-precision parts. The profiling method utilizes a profiling device to guide the tool’s motion along the contour of a guide. The guide’s shape aligns with the workpiece’s contoured surface, and mechanical transmission (such as gears and connecting rods) transmits the guide’s motion to the tool. This method is suitable for medium-volume production, achieving contour accuracies of 0.05-0.1mm and 5-10 times higher efficiency than the manual control method . It is commonly used for contoured surface machining in automotive panel molds.
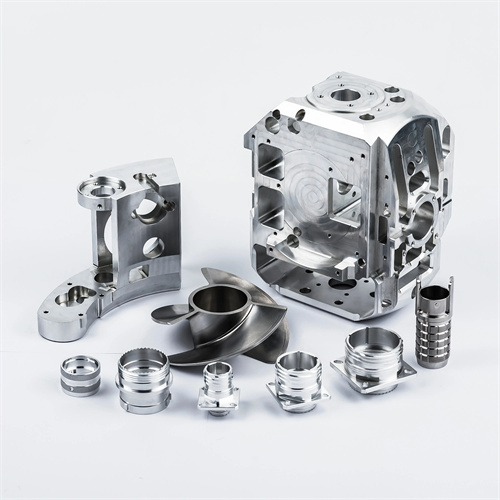
CNC turning is currently the predominant method for machining contoured surfaces. By controlling the tool’s X and Z axes through a CNC system, the tool achieves precise shaping of complex curved surfaces, making it suitable for mass production of high-precision, complex contoured surfaces. CNC turning contoured surfaces requires first constructing a surface model using CAD software, then generating tool paths using CAM software. Tool path interpolation methods include linear, circular, and spline interpolation. Spline interpolation ensures smooth surface transitions with an interpolation error of ≤0.001mm. The key to CNC turning is tool path planning. For convex contoured surfaces, a right-to-left feed method is used to avoid tool interference. For concave contoured surfaces, the cutting depth (≤0.2mm) and feed rate (≤100mm/min) must be controlled to prevent vibration. CNC turning can achieve contour accuracies of 0.005-0.01mm and surface roughness Ra of 0.4-1.6μm, making it suitable for high-precision contoured surface machining in the aerospace industry.
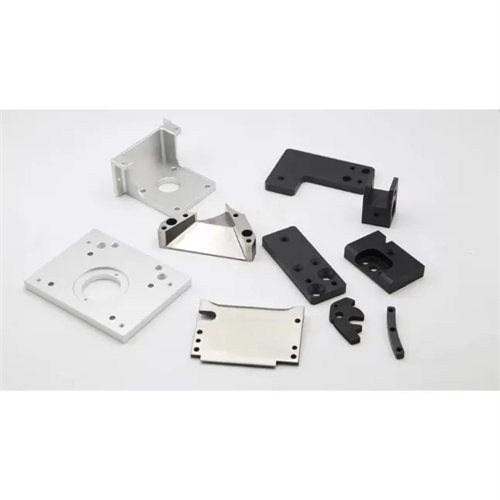
The dedicated tool method is suitable for machining specific types of special-shaped surfaces, such as machining spherical surfaces with spherical turning tools and machining elliptical surfaces with elliptical turning tools. The special shape of the tool is used to directly form the special-shaped surface, resulting in high machining efficiency but poor flexibility. The radius of the tool tip arc of the spherical turning tool is equal to the radius of the sphere. During machining, the tool rotates around the center of the sphere while the workpiece is slowly fed. This allows the sphere to be formed in one go, with a surface roughness of Ra1.6-3.2μm. It is suitable for machining spherical surfaces of parts such as ball valves and bearings. The elliptical turning tool uses a mechanical mechanism to move the tool in an elliptical trajectory, coordinating with the rotation of the workpiece to achieve elliptical surface machining. The elliptical error is ≤0.02mm, making it suitable for machining elliptical inner holes in hydraulic cylinders. The advantages of the dedicated tool method are simple equipment (can be modified on ordinary lathes), low cost, and suitability for large-scale, single-variety special-shaped surface production.
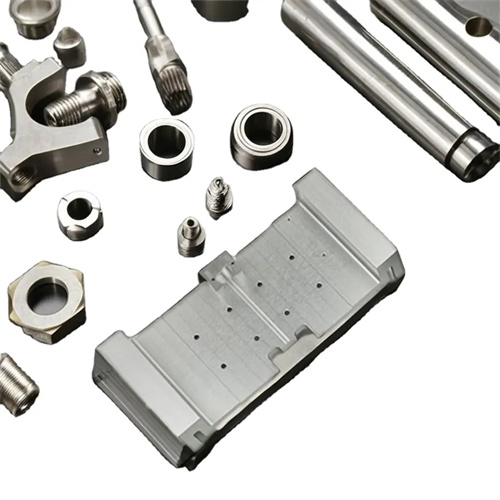
Tool selection for contoured surface turning depends on the surface type and material. Tool rigidity and cutting edge sharpness are key. When machining metals such as steel and cast iron, use carbide tools (such as YT5 and YG8) for rough turning, with a lead angle of 45°-90° and a rake angle of 5°-10° to improve efficiency. For finish turning, use coated carbide tools (such as TiCN-coated) or high-speed steel tools, with a rake angle of 10°-15° and a relief angle of 8°-12° to ensure surface quality. When machining non-ferrous metals (such as copper and aluminum), use diamond tools with an edge radius ≤0.01mm to achieve a mirror-like surface of Ra 0.02-0.1μm. For composite materials or non-metallic materials (such as engineering plastics and ceramics), use cubic boron nitride (CBN) or ceramic tools to minimize rapid tool wear. Tool shanks should be thickened (diameter ≥12mm) with a length-to-diameter ratio ≤3 to minimize tool deformation and vibration during machining.
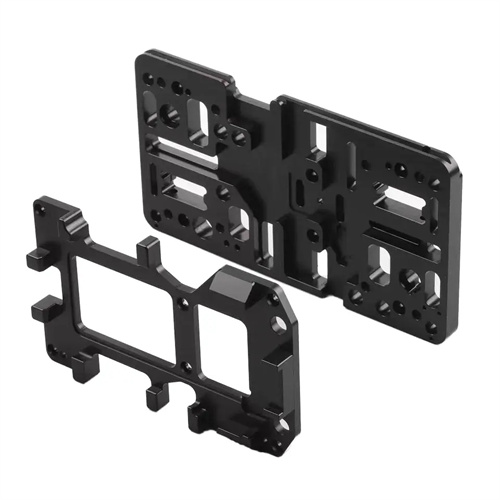
Process parameters and quality control for contoured surface turning require targeted adjustments. Cutting speeds are determined based on the material and tool. For rough turning of steel, the recommended speed is 80-120 m/min, while for finish turning, it is 120-200 m/min. For rough turning of non-ferrous metals, the recommended speed is 100-150 m/min, while for finish turning, it is 200-400 m/min. Feed rates are 0.1-0.3 mm/r for rough turning and 0.05-0.1 mm/r for finish turning. The smaller the radius of curvature of the surface, the smaller the feed rate should be (e.g., feed rate ≤ 0.05 mm/r for a 5 mm radius). Quality inspection utilizes specialized measuring tools and instruments. Spherical surfaces are measured with a spherometer (accuracy ±0.001 mm), while ellipsoidal surfaces are measured with an ellipsometer for major and minor axis dimensions. Complex curved surfaces are scanned using a three-dimensional coordinate measuring machine (CMM). The measured data is then compared with the CAD model to calculate profile errors. Surface quality is inspected using white light interferometry or atomic force microscopy to ensure the absence of defects such as scratches and burns. For special-shaped surfaces with excessive tolerances, CNC grinding can be used to correct them, with a grinding depth of ≤0.05mm to avoid affecting the surface accuracy. Through reasonable processing methods and strict quality control, special-shaped surface turning can meet the requirements of various high-end equipment.
