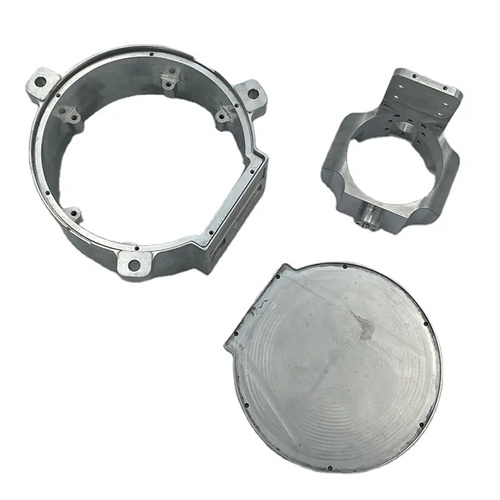
Machining of carbon structural steel curved handles
Curved handles made of carbon structural steel (such as Q235 and 45 steel) are widely used in machine tool operations, medical devices, fitness equipment, and other fields. Their structural characteristics are characterized by complex spatial curved profiles (such as arcs, cycloids, and helices), high surface roughness requirements (Ra ≤ 1.6μm), and the need to ensure smooth curve transitions and dimensional consistency. Although carbon structural steel has good cutting performance (hardness 150-200 HBW, elongation ≥ 20%), turning curved handles still faces challenges such as difficult contour accuracy control, surface chatter marks, and poor batch consistency. High-quality machining requires rational tool selection, machining methods, and optimized process parameters.
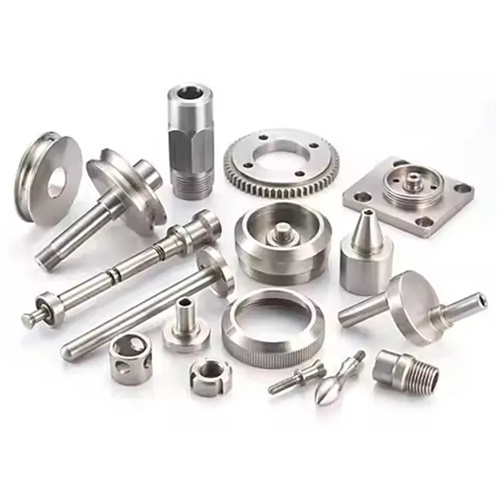
The turning method for curved handles depends on the contour complexity and production batch size. Manual feed turning can be used for single-piece, small-batch production. The operator uses a handheld template to compare the workpiece curve and manually control the combined feed of the middle and small slides. This method is suitable for simple arc curves (e.g., R5-R50mm). This method requires high operator skill and requires 5-10 trial cuts and corrections to ensure a contour error of ≤0.1mm and a surface roughness of Ra 3.2-6.3μm, making it suitable for customized products. For mass production, a CNC lathe or copy lathe is required. CNC lathes use G01, G02/G03 programming to achieve curve interpolation with an interpolation accuracy of up to 0.001mm. Combined with tool tip radius compensation, this ensures smooth curve transitions. Copy lathes use a template mechanism to drive the tool to follow the curve contour. This method is suitable for medium-volume production (50-500 pieces), with a contour accuracy of ≤0.05mm and a efficiency 3-5 times higher than manual turning. For complex spatial curves (such as non-circular curves), CAD/CAM software must be used for automatic programming. The generated tool paths must be verified by simulation before being used for processing to avoid interference and overcutting.
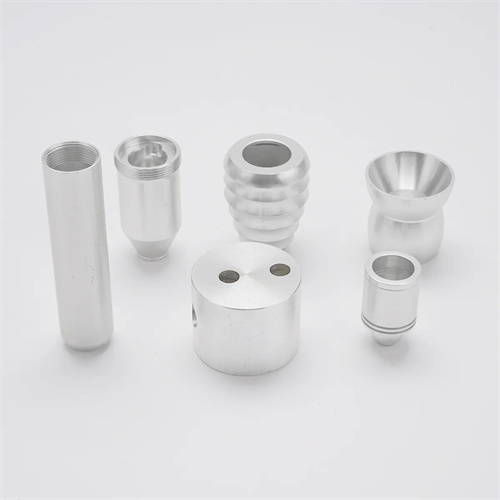
Tool selection must balance sharpness and rigidity. Carbon structural steel has good plasticity and is prone to built-up edge (BUE). Therefore, a large rake angle (15°-20°) should be used to minimize cutting deformation and friction. When turning curved external contours, use a carbide external turning tool (such as YT15) with a lead angle of 90°-93° and a tool tip radius of 0.4-0.8mm. A smaller radius reduces residual area during curved machining. When machining internal curves or grooves, use a solid high-speed steel end mill (3-10mm diameter) with a helix angle of 30°-45° to ensure smooth chip evacuation. The tool shank diameter should be ≥10mm, and the length should not exceed four times the diameter to prevent chatter during machining. For handles requiring a high finish (Ra ≤ 0.8μm), high-speed steel tools (W18Cr4V) should be used for finish turning. Ground cutting edges should have a roughness of ≤ Ra 0.02μm. Kerosene cooling can effectively prevent BUE.
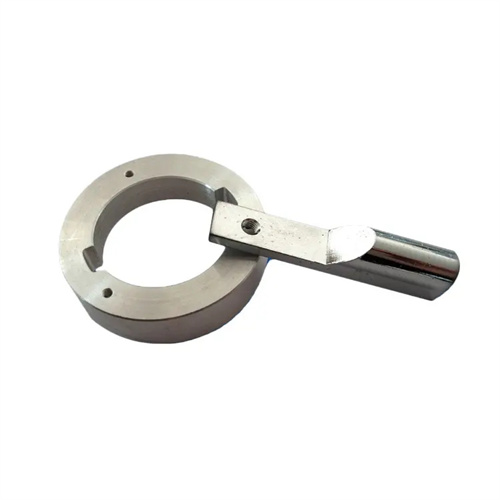
Cutting parameters should be adjusted according to the curve type and machining stage. The rough turning stage focuses on stock removal, with a cutting speed of 80-120 m/min, a feed of 0.2-0.3 mm/r, and a depth of cut of 2-5 mm. Climb milling is used to reduce tool wear. For semi-finish turning, the cutting speed is increased to 120-150 m/min, the feed reduced to 0.1-0.15 mm/r, and the depth of cut 0.5-1 mm to correct for curve profile errors. For finish turning, the cutting speed is 150-200 m/min, the feed 0.05-0.1 mm/r, and the depth of cut 0.1-0.3 mm, achieving a high-quality surface through high-speed cutting. When machining circular curves, the feed speed should be adjusted according to the arc radius. The smaller the radius, the lower the feed speed (e.g., for R5mm, the feed speed should be ≤50 mm/min) to avoid tool deflection due to excessive centrifugal force. The cutting fluid should be emulsion (concentration 5%-8%). During rough turning, emphasis should be placed on cooling. During fine turning, oily additives (such as sulfurized lard) can be added to improve lubricity and reduce surface scratches.
The clamping method must ensure workpiece positioning accuracy and stability. For handles ≤100mm in length, a three-jaw self-centering chuck is used for clamping at one end, with the extension no more than three times the diameter. An axial ejector pin is used to prevent workpiece movement. Handles 100-300mm in length require additional steady rest support, with two support blocks symmetrically located on either side of the workpiece. The contact pressure with the workpiece is controlled at 0.5-1MPa to avoid deformation caused by compression. Workpiece radial runout must be corrected before clamping (≤0.05mm). Curved blanks must be straightened (straightness ≤0.1mm/m). For handles with holes, a mandrel can be used for positioning. A clearance between the mandrel and the hole is 0.01-0.03mm, and axial compression is achieved with a nut to ensure coaxiality (≤0.02mm) for curved machining.
Quality inspection and finishing are the final steps to ensure the accuracy of curved handles. A profilometer or projector is used to measure the curve profile, comparing the actual profile with the theoretical profile. The error must be controlled within 0.05mm, with particular emphasis on the smoothness of transitions at the curve’s starting point, end point, and inflection points. Surface quality is tested using a roughness meter, with one sample of every ten pieces undergoing full surface inspection. Obvious scratches, chatter marks, or built-up edge are not permitted. Locally out-of-tolerance areas may be manually polished using an 800#-1200# grit oilstone, gently grinding along the curve to remove burrs and high spots. After polishing, the surface roughness must remain at Ra ≤ 1.6μm. For mass production, dedicated templates are produced to quickly assess the curve’s conformity through comparison. These templates are made of quenched 45 steel (hardness 50-55HRC), with a working surface roughness of Ra 0.8μm, ensuring inspection accuracy. Through scientific processing methods and strict quality control, the processing qualification rate of carbon structural steel curved handles can be stabilized at more than 98%, meeting the performance and appearance requirements.
