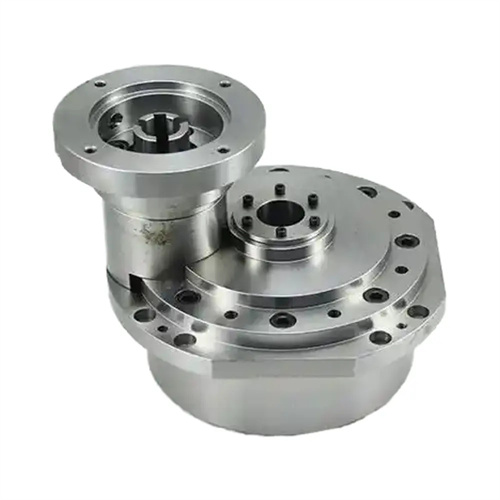
Cylindrical worm and worm wheel precision
The precision of cylindrical worms and worm wheels is a key indicator for ensuring the stability, load-bearing capacity, and service life of worm transmissions. my country’s national standard GB/T 10089-2018 categorizes this precision into 12 grades, with Grade 1 being the highest and Grade 12 being the lowest. Commonly used precision grades range from 5 to 9, covering both the precision of individual worm and worm wheel components and the meshing accuracy of the worm pair. Worm transmissions, characterized by high transmission ratios and compact structures, are widely used in machine tools, lifting machinery, metallurgical equipment, and other fields. Precision control involves the accuracy of the worm’s helix, the pitch of the worm wheel, and the contact accuracy during meshing. This is more complex than gear precision control and requires comprehensive consideration of the synergistic effects of various parameters.
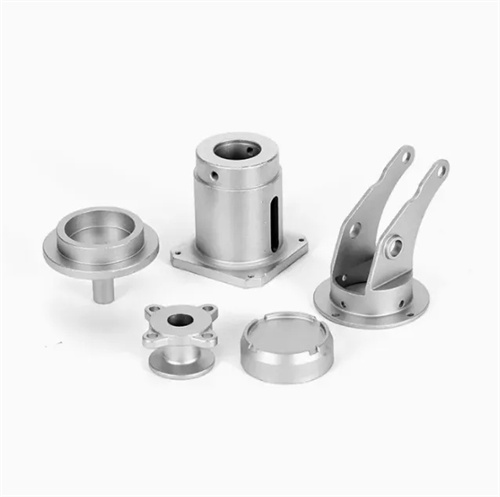
The precision grade of a worm primarily controls its helix accuracy, tooth profile accuracy, and dimensional accuracy. Key specifications include the total helix deviation (Fβ), total tooth profile deviation (Fa), pitch circle diameter deviation (Ef), and cumulative axial pitch deviation (Fpx). High-precision worms (grades 5-6) have stringent requirements for these specifications. For example, for a worm with a module m = 5mm and a grade 5 precision, the allowable Fβ deviation is ≤ 0.012mm, Fa ≤ 0.010mm, and Ef ≤ ±0.013mm, making it suitable for feed worms in precision machine tools. Medium- and low-precision worms (grades 7-9) have larger allowable deviations. For example, for a worm with an m = 5mm and a grade 8 precision, the allowable Fβ deviation is ≤ 0.036mm, Fa ≤ 0.030mm, and Ef ≤ ±0.039mm, making them suitable for worm drives in general lifting equipment. The accuracy of the worm directly affects the meshing quality with the worm wheel. Excessive helix deviation will lead to a reduction in contact area, and excessive tooth profile deviation will aggravate tooth surface wear. Therefore, the processing of worms usually requires special machine tools (such as worm grinders) to ensure accuracy.
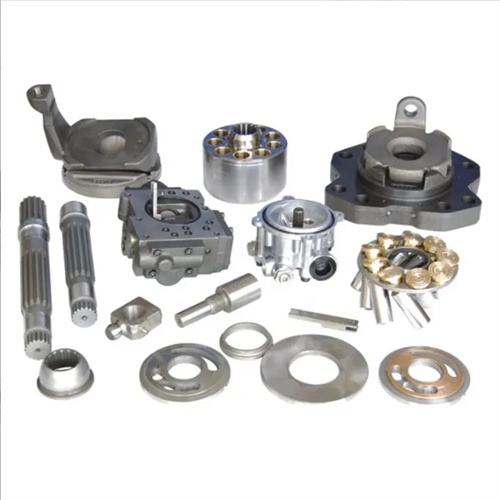
The accuracy grade of a worm gear primarily controls its pitch accuracy, ring gear radial runout, and tooth profile accuracy. Key indicators include the cumulative total deviation of the worm gear pitch (Fp), ring gear radial runout (Fr), worm gear pitch circle diameter deviation (Ef2), and total worm gear profile deviation (Fa2). The accuracy grade of the worm gear used with the worm is typically the same as or one grade lower than the worm gear. For example, a grade 5 worm gear is paired with a grade 5 or 6 worm gear. A grade 6 worm gear with a module m = 5mm has an Fp tolerance of ≤0.063mm, Fr ≤0.045mm, and Ef2 ≤±0.025mm, making it suitable for high-precision transmissions. Grade 8 worm gears have Fp ≤0.20mm, Fr ≤0.12mm, and Ef2 ≤±0.075mm, making them suitable for general transmissions. Worm gears are mostly made of castings or forgings through cutting. The radial runout of their gear rings has a significant impact on the meshing accuracy. During processing, they need to be positioned using a reference hole to ensure coaxiality with the worm.
The meshing accuracy of a worm pair is a comprehensive measure of transmission quality. It includes contact patch, transmission error, and tooth backlash, directly reflecting the fit between the worm and worm wheel. The contact patch is a direct indicator of meshing accuracy and requires sufficient contact area in both the tooth depth and tooth width directions . For a worm pair with Grade 5 accuracy, the contact patch should be ≥70% in the tooth depth and ≥60% in the tooth width. For Grade 8 accuracy, the contact patch should be ≥40% (tooth depth) and ≥50% (tooth width). The transmission error (f′i) controls the angular error per worm rotation. For Grade 5 accuracy, f′i is ≤0.003 rad, and for Grade 8, it is ≤0.012 rad. Excessive transmission error can lead to unstable transmission, resulting in vibration and noise. Tooth side clearance is divided into 6 types (a, b, c, d, e, f) according to working conditions, with type a being the smallest and type f being the largest. It needs to be selected based on temperature changes, lubrication requirements, and working load. For example, transmissions in high-temperature environments require a larger clearance (type d or e), while precision transmissions require a smaller clearance (type b or c).
The accuracy grade of worm and worm gears should be selected based on the transmission’s operating conditions, including transmission power, speed, transmission ratio, operating environment, and precision requirements. High-speed, light-load transmissions (such as machine tool indexing mechanisms with speeds >1000 r/min) require accuracy grades 5-6 to ensure smooth transmission and positioning accuracy. Medium-speed, medium-load transmissions (such as conveyor reducers with speeds between 300-1000 r/min) use accuracy grades 7-8, balancing accuracy and cost. Low-speed, heavy-load transmissions (such as crane worm pairs with speeds <300 r/min) can use accuracy grades 8-9, prioritizing strength and contact accuracy. Environmental conditions also influence the accuracy selection. Transmissions in dusty and humid environments can use a lower accuracy grade (e.g., Grade 9), while clean, vibration-free environments (such as precision instruments) require a higher accuracy grade (e.g., Grade 5-6). Furthermore, the larger the transmission ratio, the higher the accuracy requirement. For example, for worm pairs with a transmission ratio i > 50, it is recommended to select accuracy grades 7 or higher to avoid error accumulation.
The accuracy marking method for worms and worm wheels requires the accuracy grade and backlash type to be clearly indicated on the working drawing. According to GB/T 10089-2018, the marking format is “accuracy grade + backlash type + standard number.” For example, “7c GB/T 10089-2018” indicates a worm pair with accuracy grade 7 and backlash type C. If the worm and worm wheel have different accuracy grades, they can be marked separately, such as “Worm: 6 Worm wheel: 7d GB/T 10089-2018.” Key elements such as the datum axis and locating surface must also be noted during marking. For example, the worm wheel working drawing should state “Based on a φ80H7 hole, end face runout ≤ 0.015mm.” These markings serve as the basis for manufacturing and inspection, ensuring that the processing and assembly of the worm and worm wheel meet design requirements. By properly selecting the accuracy grade, strictly controlling the processing process, and standardizing the marking, the performance indicators of worm gear transmissions can be guaranteed, the service life can be extended, and the transmission requirements of different equipment can be met.
