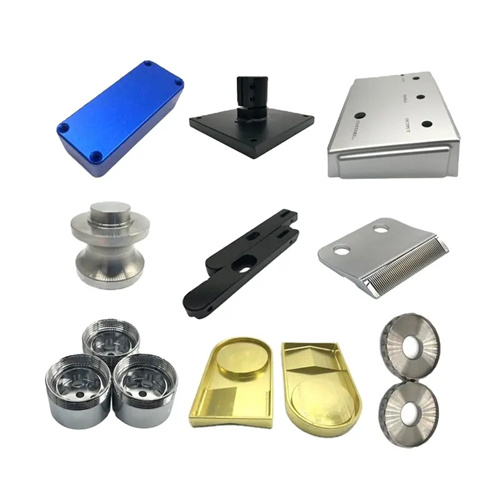
Machining of cast iron grinding head sleeve
The cast iron grinding head sleeve is a key component of the grinding machine’s spindle system, used to support the grinding head spindle and ensure its rotational accuracy. It is mostly made of high-phosphorus cast iron (HT300-HT350) or alloy cast iron. After aging treatment, its hardness reaches 180-220 HBW, and it has excellent wear resistance and dimensional stability. Its structure features a precision inner hole (for mating with the spindle), an outer cylindrical step, an end stop, and an oil hole. The inner hole roundness is ≤0.005mm, the cylindricity is ≤0.01mm/100mm, and the coaxiality with the outer circle is ≤0.015mm. Machining requires controlling the inner hole accuracy and surface quality, while also ensuring the positional accuracy of each step surface. Machining the cast iron grinding head sleeve requires a high-precision lathe and specialized tools. Micron-level precision control is achieved through step-by-step processing and precision measurement.
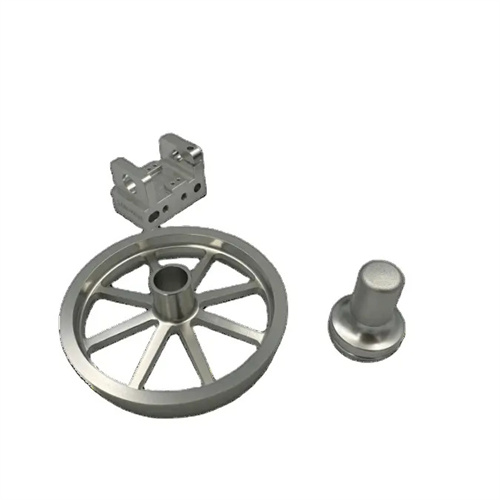
The machining process for cast iron grinding head sleeves emphasizes “standardized datums and gradual refinement.” A typical process is: blank casting → artificial aging (300°C x 6 hours) → rough turning of the outer diameter, end face, and inner bore → secondary aging (250°C x 4 hours) → semi-finishing turning of the outer diameter, step, and inner bore → rough grinding of the inner bore → finish turning of the outer diameter and end face → finish grinding of the inner bore → final inspection. During the rough machining phase, the casting stock (3-5mm) is removed. The inner diameter is 5-8mm larger than the design size, and a 2-3mm allowance is left on the outer diameter step to reduce stress and deformation during subsequent machining. Secondary aging eliminates internal stresses generated by rough machining and prevents dimensional changes after fine grinding. Semi-finishing prepares for fine grinding, leaving a 0.5-1mm grinding allowance on the inner bore, a 0.3-0.5mm allowance on the outer diameter, and a 0.2-0.3mm allowance on the step surface. During fine turning of the outer diameter and end face, the inner bore is used as the reference (using a mandrel for positioning) to ensure coaxiality between the outer diameter and the inner bore.
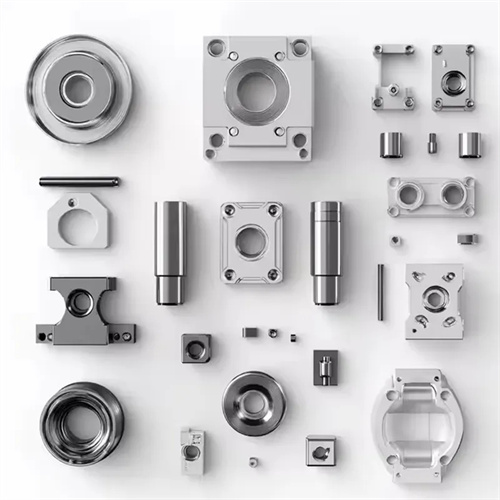
Internal bore turning and grinding are the core of cast iron grinding head machining. For rough turning, a YG8 carbide boring tool is used. The toolholder diameter is 0.6-0.7 times the bore diameter. Cutting speeds are 60-80 m/min, feeds are 0.2-0.3 mm/r, and depths of cut are 2-3 mm. The surface roughness of the internal bore is Ra ≤ 12.5 μm. For semi-finish boring, a YG6X tool is used. The toolholder adopts a vibration-resistant structure (e.g., a hollow toolholder filled with cement). Cutting speeds are 80-100 m/min, feeds are 0.1-0.15 mm/r, and depths of cut are 0.5-1 mm. The internal diameter is close to the rough-ground size (with a 0.5 mm allowance). The surface roughness is Ra ≤ 3.2 μm. For rough grinding of the inner hole, a grinding wheel with a grit of 46#-60# is used at a grinding speed of 30-35m/s, a feed rate of 0.05-0.1mm/r, and an emulsion (5%-8% concentration) as the coolant. Grind to the inner hole, leaving a 0.05-0.1mm fine grinding allowance. For fine grinding of the inner hole, a grinding wheel with a grit of 80#-100# is used at a grinding speed of 35-40m/s, using plunge grinding, and a feed rate of 0.01-0.02mm/r. The final inner hole dimensional accuracy is IT5 (e.g., φ60H5, upper deviation +0.016mm, lower deviation 0), with a surface roughness Ra≤0.4μm.
The machining of the outer diameter and the stepped surface must maintain high-precision coaxiality with the inner hole. For rough turning of the outer diameter, a 90° carbide external cylindrical turning tool (YG8) is used, with a cutting speed of 70-90 m/min, a feed rate of 0.2-0.3 mm/r, and a cutting depth of 2-4 mm. The outer diameter should be 3-5 mm larger than the design size. For semi-finishing turning of the outer diameter, a YG6 tool is used, with a cutting speed of 90-110 m/min, a feed rate of 0.15-0.2 mm/r, and a cutting depth of 0.5-1 mm. A 0.3-0.5 mm finishing allowance is left for the outer diameter and a 0.2-0.3 mm allowance for the stepped surface. The surface roughness Ra ≤ 3.2 μm. When finishing the outer diameter and stepped surface, the workpiece is positioned on the mandrel with the inner hole. The fit between the mandrel and the inner hole is H6/g5 (clearance 0.005-0.01mm). The finishing tool is made of high-speed steel (W18Cr4V), with a cutting speed of 40-60m/min, a feed rate of 0.05-0.1mm/r, and a cutting depth of 0.1-0.3mm. The outer diameter accuracy is IT6, and the perpendicularity between the stepped surface and the inner hole is ≤0.01mm/100mm. The oil hole is processed after semi-finishing. The hole is drilled with a drill bit (diameter 6-10mm) and the hole mouth is chamfered 1×45° to avoid stress concentration.
Quality inspection requires the use of precision measuring tools. Internal bore accuracy is checked with an internal micrometer or a coordinate measuring machine, with roundness and cylindricity errors ≤ 0.005mm and 0.01mm/100mm, respectively. The coaxiality of the outer and inner diameters is measured with a runout gauge, with a dial indicator reading difference of ≤ 0.015mm. The verticality of the stepped surface is checked with a square and a dial indicator, with an error of ≤ 0.01mm/100mm. Surface roughness is measured at 3-5 points at different locations with a roughness meter and averaged. The inner bore Ra is ≤ 0.4μm, and the outer diameter Ra is ≤ 1.6μm. Common defects and solutions: Out-of-tolerance inner bore roundness is often due to grinding wheel imbalance during grinding, requiring rebalancing. Unsatisfactory coaxiality requires checking the spindle accuracy or positioning datum. Surface scratches require cleaning impurities from the cutting fluid and replacing the filter. Through strict implementation of the process route and precise measurement, the machining accuracy of the cast iron grinding head sleeve can meet the rotation requirements of the grinding machine spindle, and the radial runout of the spindle is ≤0.001mm, ensuring the surface quality of the grinding process.
