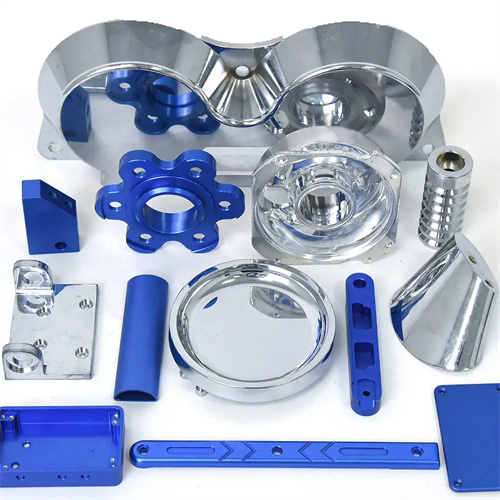
Lathe adjustment
Lathe adjustment is crucial for ensuring machining accuracy and productivity, encompassing multiple aspects, including spindle speed adjustment, feed rate adjustment, tool setup adjustment, and tailstock adjustment. Proper lathe adjustment can reduce machining errors, improve part quality, and reduce tool wear and energy consumption. Lathe adjustment should be performed step-by-step according to operating procedures, based on the material, size, and precision requirements of the part being machined, as well as the type of tool being used. Fine-tuning should be performed based on actual machining conditions to achieve optimal results.
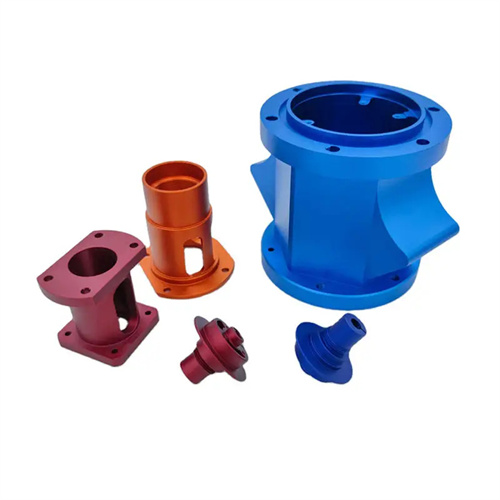
Spindle speed adjustment is fundamental to lathe setup and directly impacts cutting speed and machining efficiency. The choice of spindle speed depends on the workpiece material, tool material, and machining type (roughing, finishing). This is typically achieved by adjusting the spindle speed handle or button on the lathe’s spindle box. When machining brittle materials (such as cast iron), the chips tend to break up and the cutting forces are concentrated, so the spindle speed should be lower. For example, when machining cast iron with carbide tools, the speed is generally controlled at 50-100 rpm. When machining plastic materials (such as steel and aluminum alloys), the speed can be increased to reduce built-up edge and improve surface quality. When machining 45 steel with carbide tools, the speed can reach 100-500 rpm. During roughing, a lower speed with a higher feed rate is recommended to quickly remove stock. During finishing, a higher speed with a lower feed rate is recommended to maintain surface quality. When adjusting the spindle speed, you must stop the machine first and wait until the spindle stops completely before operating to avoid damaging the speed change mechanism. At the same time, pay attention to the tachometer display to ensure that the actual speed is consistent with the required speed.
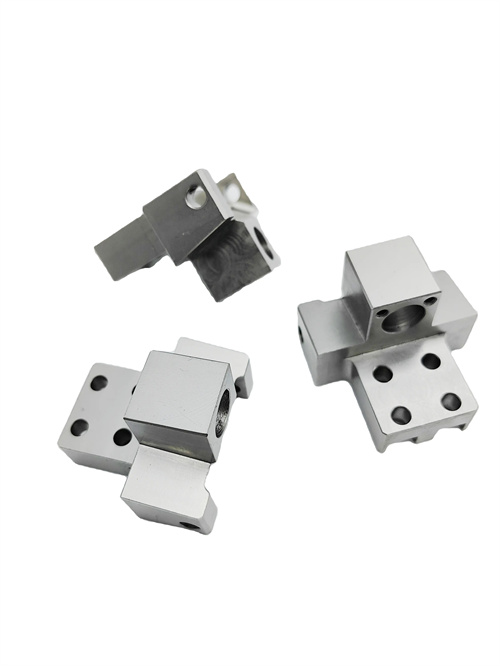
Feed adjustment is key to controlling surface quality and production efficiency. The feed rate is set using the handle on the lathe’s feed box or the digital control panel. The feed rate (measured in mm/r) represents the distance the tool moves per spindle revolution. A higher feed rate (0.2-0.5 mm/r) is used for roughing to improve efficiency, while a lower feed rate (0.05-0.2 mm/r) is used for finishing to reduce surface roughness. The feed rate selection also considers tool strength and workpiece rigidity. For example, when using high-speed steel tools, the feed rate should be limited to prevent chipping. When machining less rigid workpieces, such as slender shafts, the feed rate should be reduced to avoid bending and deformation. When turning threads, the feed rate must be consistent with the thread lead. To do this, the feed box handle must be moved to the appropriate thread position to ensure synchronization between the feed mechanism and the spindle. Otherwise, the thread will buckle. After adjusting the feed rate, a dry run test should be performed to observe smooth tool movement and any unusual noises. Only after verification is complete can production begin.

Tool installation and adjustment directly impact machining accuracy and tool life, including tool geometry, tool tip height, and tool clamping. Tool geometry must be pre-sharpened according to the material and process requirements. During installation, the tool angles are adjusted using the dials on the tool holder to ensure that the lead angle, rake angle, and clearance angle meet design requirements. The tool tip must be level with the workpiece axis. If the tool tip is higher than the axis, the actual rake angle increases and the clearance angle decreases, resulting in increased tool wear. If the tool tip is lower than the axis, the actual rake angle decreases and the clearance angle increases, potentially causing vibration and deteriorating surface quality. When adjusting the tool tip height, shims can be placed between the tool holder and the tool, or fine-tuning can be performed by moving the tool holder. Verification can be performed using a template or dial indicator. Tool clamping must be secure and reliable, using bolts on the tool holder to hold the tool in place during machining to prevent loosening, which could lead to dimensional errors or accidents. When installing specialized tools such as cut-off cutters and threading cutters, the tool centerline must be perpendicular to the workpiece axis to ensure symmetrical surfaces or threads.

Tailstock adjustment is primarily used to support long workpieces and for machining operations such as drilling and reaming. This involves adjusting both the tailstock position and the tailstock center. When machining long, axial workpieces, the tailstock must be properly secured to the machine bed rails so that the tailstock center is concentric with the spindle center to prevent workpiece bending during machining. When adjusting the tailstock position, the coaxiality between the tailstock quill axis and the spindle axis can be measured using the scale on the machine bed rails or a dial indicator. The coaxiality error should be within 0.02 mm/m. Tailstock centers are divided into fixed centers and live centers. Fixed centers offer superior rigidity but are susceptible to wear, making them suitable for low-speed machining. Live centers are supported by bearings and can rotate at high speeds, making them suitable for high-speed machining but offering slightly less rigidity. When adjusting the center, ensure that the center is firmly seated against the workpiece center hole with moderate tension. Excessive tightening can cause workpiece deformation or overheating, while excessive looseness can cause workpiece vibration and affect precision. When drilling and reaming, the tailstock quill must be extended to an appropriate length and secured to prevent retraction during machining, which could affect hole depth accuracy.
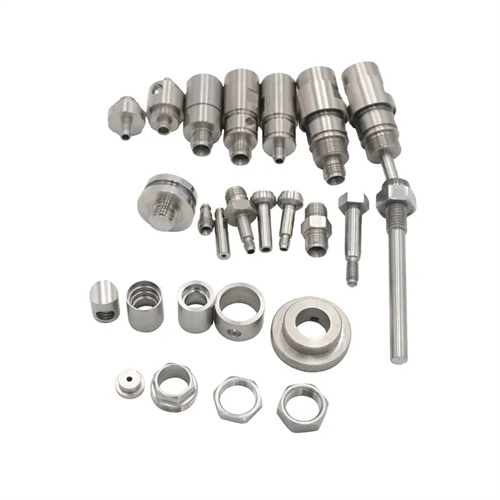
Routine maintenance and adjustments for lathes are crucial to ensuring equipment accuracy and extending its lifespan. These include guideway lubrication and adjustment, clearance adjustment, and belt tensioning. Guideway lubrication requires regular inspection of the oil level in the lubricating oil tank. A lubrication pump delivers lubricant to the guideways of moving parts, such as the lathe bed and toolholder, to ensure smooth movement and reduce wear. Insufficient lubrication can cause guideway strain, impacting lathe accuracy. Lathe kinematic joints (such as the lead screw, nut, and gear meshing) have clearances. Excessive clearances can increase machining errors and require adjustment using nuts or shims. For example, to adjust the clearance of the center slide lead screw, turn the adjustment nut on the toolholder to maintain a clearance between the lead screw and nut between 0.01 and 0.03 mm. The spindle belt should be appropriately tensioned. Too loose can cause transmission slippage, affecting spindle speed stability; too tight can increase bearing wear and motor load. Adjustment is achieved by adjusting the motor mount to adjust the belt tension. A finger press should ensure the belt deflects 10-15 mm. In addition, it is necessary to regularly clean the chips and oil stains on the lathe guide surface and lead screw, check whether the fasteners are loose, and ensure that the lathe is in good working condition.
