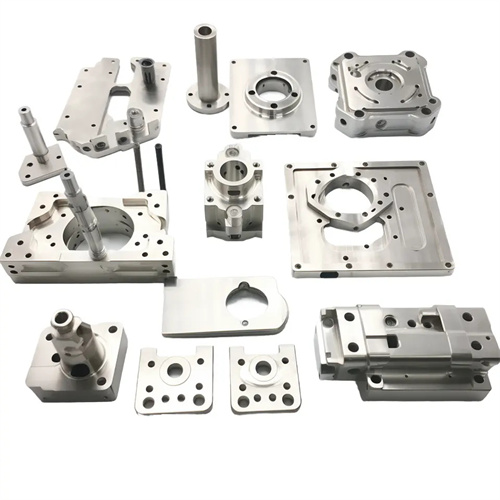
Machining of stainless steel thin-walled sleeves
Thin-walled stainless steel sleeves are widely used in the chemical, food, and medical industries due to their excellent corrosion resistance, strength, and toughness. However, due to their thin walls (typically less than 3mm thick), poor rigidity, and inherently poor thermal conductivity and severe work hardening, they are prone to deformation, difficulty maintaining dimensional accuracy, and rapid tool wear during turning. Therefore, when turning thin-walled stainless steel sleeves, comprehensive control is required regarding clamping method, tool selection, and optimized cutting parameters to ensure machining quality and efficiency.
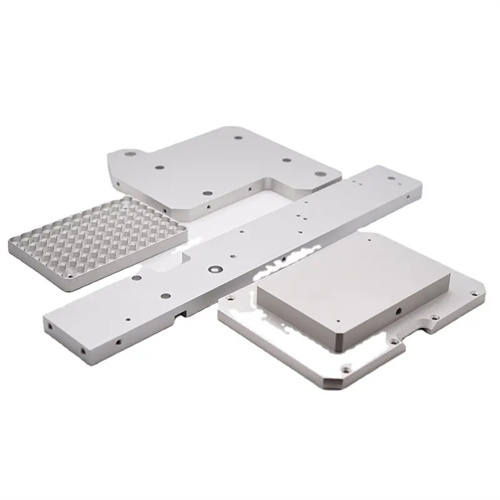
The reasonable choice of clamping method is the key to preventing the deformation of stainless steel thin-walled sleeves. Due to the thin wall, the traditional three-jaw chuck radial clamping can easily cause plastic deformation of the workpiece, resulting in an elliptical or prismatic shape. At this time, an axial clamping and auxiliary support method can be adopted, such as using a mandrel with an end pressure plate for clamping. The mandrel and the inner hole of the thin-walled sleeve are transitionally matched, and the end face is positioned, and the pressure plate is used to apply a uniform clamping force in the axial direction to reduce the impact of radial force on the workpiece. For stainless steel thin-walled sleeves with a longer length, a tool holder or a center frame must be used during the processing process to enhance the rigidity of the workpiece and avoid bending deformation due to cutting force. In addition, padding the contact area between the jaws and the workpiece with a copper sheet can increase the contact area, reduce local pressure, and further reduce clamping deformation.
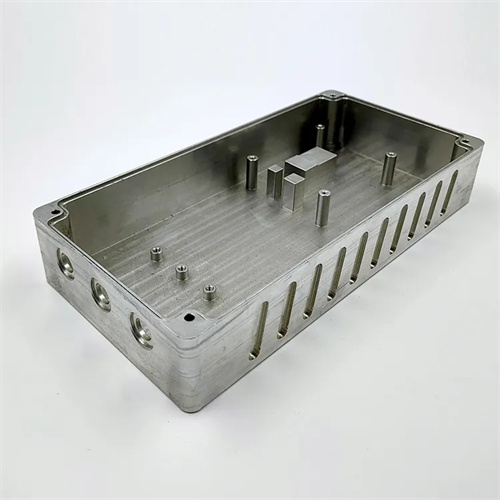
Tool selection and sharpening quality significantly impact the turning performance of thin-walled stainless steel sleeves. Stainless steel exhibits high toughness and high high-temperature strength, and is prone to built-up edge during machining. Therefore, tool materials should be selected from carbides with excellent wear resistance and high red hardness, such as YG8, YW1, and YW2. The YW series carbides offer both high hardness and toughness, making them suitable for stainless steel machining. Tool geometry requires a large rake angle (12°-15°) and clearance angle (10°-12°) to reduce cutting forces and friction, thereby minimizing work hardening. A lead angle of 75°-90° is recommended to minimize radial cutting forces and prevent workpiece deformation. A positive rake angle (3°-5°) ensures chip flow toward the surface being machined, preventing scratches on the existing surface. The tool cutting edge must be sharp and, if necessary, chamfered (0.1-0.2mm width, -5° rake angle) to enhance edge strength and minimize chipping.
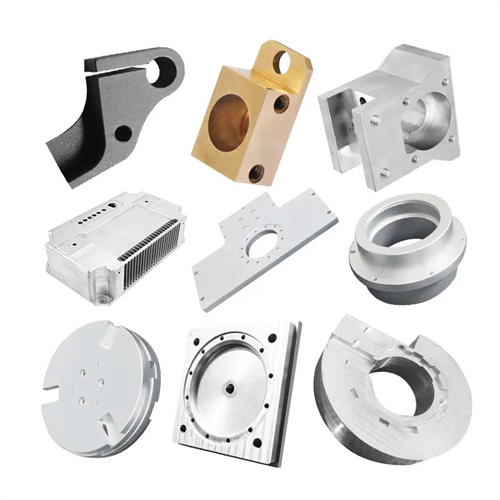
Optimizing cutting parameters is an important means to improve the turning quality and efficiency of stainless steel thin-walled sleeves. Excessively high cutting speeds will cause a sharp increase in cutting temperature, exacerbating tool wear and thermal deformation of the workpiece; too low a speed will easily produce built-up edge, affecting surface quality. Generally, when using carbide tools to turn stainless steel thin-walled sleeves, the cutting speed can be controlled at 60-100m/min. The feed rate should be selected according to the surface roughness requirements, 0.15-0.3mm/r for rough machining and 0.05-0.1mm/r for fine machining. A smaller feed rate can reduce the surface residual area and improve surface quality. The selection of back cutting depth should follow the principle of “small amounts and multiple times”. During rough machining, the back cutting depth should not exceed 1mm each time to reduce cutting force; during fine machining, the back cutting depth should be controlled at 0.1-0.3mm to ensure dimensional accuracy. In addition, the rational use of cutting fluid is crucial. Emulsions or extreme pressure cutting oils with good cooling performance and strong lubricity should be selected. The cutting fluid should be sprayed directly into the cutting area through a high-pressure cooling system to take away the cutting heat in time and reduce tool wear and thermal deformation of the workpiece.
Quality control and error compensation during machining are the last line of defense for ensuring the precision of thin-walled stainless steel sleeves. After each machining process, the workpiece’s dimensions and shape accuracy must be measured promptly. Inside and outside diameters can be measured with an inside and outside micrometer, and roundness and cylindricity can be checked with a dial indicator. If dimensional deviations are detected, the cause should be analyzed and process parameters adjusted. For example, dimensional deviations due to tool wear require timely tool replacement or sharpening. Dimensional changes due to thermal deformation can be corrected after the workpiece cools. For thin-walled stainless steel sleeves with higher precision requirements, a “rough turning – aging – finish turning” process is recommended. After rough turning, low-temperature aging (200-300°C for 2-3 hours) is performed to eliminate internal stresses before final finishing to ensure dimensional stability. Furthermore, finish turning should be performed in a single clamping setup to minimize positioning errors caused by multiple clampings.
