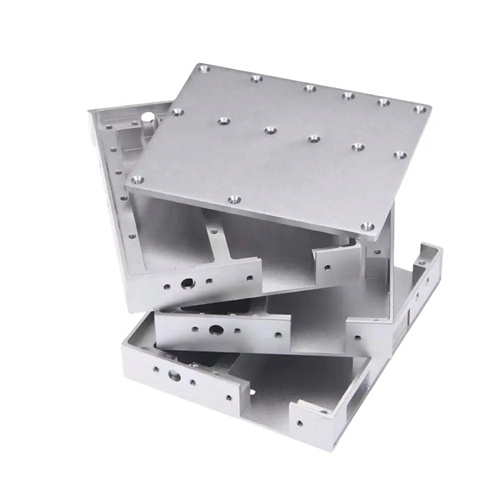
Causes and prevention methods of scrap when turning conical surfaces
When turning conical surfaces, due to their unique geometry, various scrap products are prone to occur during machining, such as inaccurate taper, out-of-tolerance dimensions, excessive surface roughness, and uneven generatrix lines. These scrap products not only waste materials and labor, but also affect the assembly performance and performance of the part. Therefore, analyzing the causes of scrap during conical turning and implementing effective preventive measures are crucial for improving product quality and reducing production costs. The causes of scrap during conical turning are multifaceted, including improper machine tool adjustment, inappropriate tool selection, inappropriate cutting parameters, and incorrect measurement methods. Only by taking appropriate preventive measures targeting the specific causes can scrap generation be effectively reduced.

Inaccurate taper is one of the most common scrap products when turning conical surfaces. The main reasons include incorrect rotation angle of the machine tool’s small slide, miscalculated tailstock offset, and improper adjustment of the mold device. An incorrect rotation angle of the small slide will cause the feed direction of the turning tool to be non-parallel to the generatrix of the conical surface, resulting in the processed taper not meeting the requirements of the drawing. When turning the small slide, if the angle measurement is inaccurate or there is an error in the scale of the small slide turntable, it will cause angular deviation. The way to prevent this situation is to carefully check the accuracy of the angle ruler before turning the small slide, use a precise measuring tool (such as a universal angle ruler, sine ruler, etc.) to measure the rotation angle of the small slide, and perform a trial cut. Based on the test cut results, adjust the angle until the taper meets the requirements. An incorrect calculation of the tailstock offset will result in an incorrect angle between the workpiece’s rotation center and the lathe spindle axis, resulting in an error in the taper of the outer conical surface or the inner conical surface of the through hole. The preventive method is that when calculating the tailstock offset, you should strictly follow the formula and check it to ensure that the offset is accurate. At the same time, when adjusting the tailstock, use a dial indicator to measure the offset to improve the adjustment accuracy.
Dimensional deviations are also a common type of scrap when turning conical surfaces. This is primarily manifested by the maximum or minimum diameter of the conical surface not meeting the drawing requirements. The main causes include improper feed rate control, excessive tool wear, and untimely measurement. Improper feed rate control can lead to uneven cutting depths, causing deviations in the dimensions of the conical surface. When turning a conical surface, if the feed rate is too high, the cutting force will increase, causing the workpiece to deform, thereby affecting dimensional accuracy; if the feed rate is too low, the processing time will increase and production efficiency will decrease. Prevention is to select an appropriate feed rate based on the workpiece material, tool material, and machining accuracy requirements, and to maintain a stable feed rate during machining. Excessive tool wear can cause the size of the turning tool to change, resulting in dimensional deviations of the machined conical surface. Prevention is to select tool materials with good wear resistance, use cutting fluids appropriately, reduce cutting temperatures, minimize tool wear, regularly check tool wear, and promptly sharpen or replace the tool.
Excessive surface roughness not only affects the appearance of the tapered surface but also reduces the fit and wear resistance of the part. The main causes include blunt tool edges, low cutting speeds, and improper use of cutting fluid. A blunt tool edge can exacerbate metal deformation during cutting, resulting in a rough surface. Preventative measures include sharp tool edges, smooth surfaces, and no burrs or notches. For high-speed steel turning tools, an oilstone can be used to sharpen the cutting edge to improve the finish. Low cutting speeds can cause built-up edge (BUE) to adhere to the cutting edge, scratching the machined surface and increasing surface roughness. Preventative measures include selecting an appropriate cutting speed based on the workpiece and tool materials. For plastic materials, higher cutting speeds are recommended to avoid BUE. Improper use of cutting fluid can increase cutting temperatures, causing burns or cracks on the machined surface. It can also impair chip removal, leading to increased surface roughness. Preventative measures include selecting the appropriate type of cutting fluid, ensuring sufficient, clean cutting fluid, and spraying it properly into the cutting area to maximize its cooling and lubricating properties.
A generatrix misalignment occurs when the generatrix of a conical surface is not a straight line but rather curved or wavy, affecting the fitting accuracy of the conical surface. The main causes include poor workpiece rigidity, insufficient tool rigidity, and excessive clearance in the machine tool guideways. Poor workpiece rigidity can cause bending and deformation under cutting forces, resulting in generatrix misalignment. This phenomenon is particularly pronounced when machining slender conical surfaces. Preventative measures include increasing workpiece rigidity by using a steady rest or steady rest to support the workpiece and reduce bending and deformation. Additionally, appropriate cutting parameters can be selected to reduce cutting forces. Insufficient tool rigidity can cause vibration under cutting forces, leading to generatrix misalignment. Preventative measures include selecting a rigid tool, shortening the tool extension, and increasing tool rigidity. For turning tools for internal conical surfaces, increasing rigidity can be achieved by thickening the tool shank . Excessive clearance in the machine tool guideways can cause tool runout during feed, leading to generatrix misalignment. Preventative measures include regularly checking the machine tool guideway clearance and adjusting the inserts to ensure the clearance is within a reasonable range to reduce tool runout.
Incorrect measurement methods, such as improper selection of measuring tools, incorrect measurement datums, and reading errors, can also lead to scrap when turning conical surfaces. Improper selection of measuring tools can result in inaccurate measurement results. For example, using an ordinary ruler to measure the length of a conical surface can cause errors due to the misalignment between the ruler and the workpiece surface. Preventative measures include selecting appropriate measuring tools based on the required precision of the conical surface. For higher precision requirements, precision measuring tools such as micrometers, dial indicators, taper plug gauges, or ring gauges should be used. An incorrect measurement datum can cause deviations between the measurement results and the actual dimensions. For example, using a non-datum surface of the workpiece as the measurement datum can increase measurement errors. Preventative measures include strictly selecting the measurement datum according to the drawing requirements and ensuring that it is consistent with the design datum. Reading errors are caused by operator negligence or lack of skills. Preventative measures include strengthening operator training, improving their skills and sense of responsibility, ensuring careful observation and accurate readings, and performing multiple measurements when necessary, with the average value used as the measurement result.
