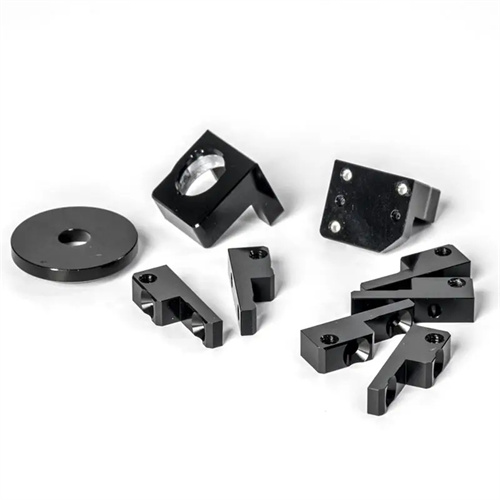
Machining of composite threaded workpieces
Composite threaded workpieces, combining the excellent properties of multiple materials, are widely used in high-end fields such as aerospace, automotive manufacturing, and new energy. However, turning composite materials is far more difficult than turning traditional metal materials. Composite materials are composed of a reinforcement phase (such as carbon fiber, glass fiber, and aramid fiber) and a matrix phase (such as resin, metal, and ceramic). The physical and mechanical properties of these phases vary significantly. The high hardness and wear resistance of the reinforcement phase can exacerbate tool wear, while the low strength of the matrix phase can easily cause defects such as tearing and delamination under cutting forces. Therefore, when turning composite threads, specialized processes must be developed based on the characteristics of each phase to balance cutting efficiency and processing quality.
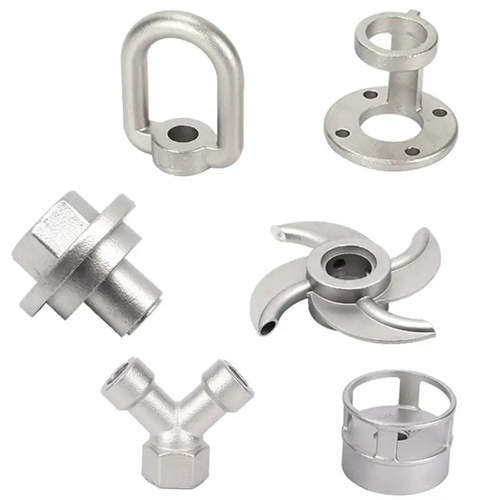
Tool selection is a key step in composite thread turning, requiring balanced consideration of both wear and impact resistance. The hardness of the reinforcement phase typically exceeds HV1000, and ordinary high-speed steel tools will quickly wear out and fail. Therefore, ultrafine-grained carbides (such as WC-Co alloys) or coated tools (such as TiAlN coatings) are preferred. These tools can withstand fiber abrasion and extend tool life. For carbon fiber reinforced composites (CFRP), diamond-coated tools are an option. Their extremely low coefficient of friction reduces fiber-tool adhesion and prevents the resin matrix from adhering to the cutting edge. Tool geometry requires specialized design: a rake angle of 5°-10° ensures a sharp cutting edge for fiber severing while avoiding insufficient edge strength due to excessive rake angles. A clearance angle of 10°-15° reduces friction between the flank and the machined surface, preventing fiber pullout. A tip radius of 0.2-0.5mm reduces the impact of cutting forces on the substrate and reduces the risk of delamination.
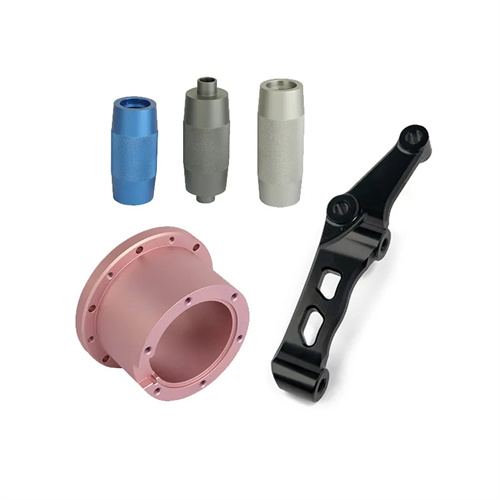
Optimizing cutting parameters should be centered around the goals of “low damage and high efficiency.” Excessively high cutting speeds can lead to a sharp increase in frictional heat generation in the reinforcement phase, softening or even carbonizing the resin matrix. Therefore, medium-to-low speeds are recommended. For CFRP machining, the cutting speed is generally 50-100 m/min, while for glass fiber reinforced plastic (GFRP), it can be increased to 80-150 m/min. The feed rate must be matched to the thread pitch. During rough turning, the feed rate should be 0.1-0.2 mm/r to ensure smooth chip evacuation; during finish turning, it should be reduced to 0.05-0.1 mm/r to minimize surface tearing. The depth of cut should be controlled using a layered cutting method, with each cut no deeper than 0.3 mm. Multiple passes should be used to gradually shape the material, avoiding excessive cutting forces that can lead to delamination. Furthermore, the choice of cutting fluid should be cautious. Water-based cutting fluids may cause the resin matrix to absorb moisture and expand. Oil-based cutting fluids or compressed air cooling are recommended to reduce cutting temperatures and prevent degradation of matrix properties.
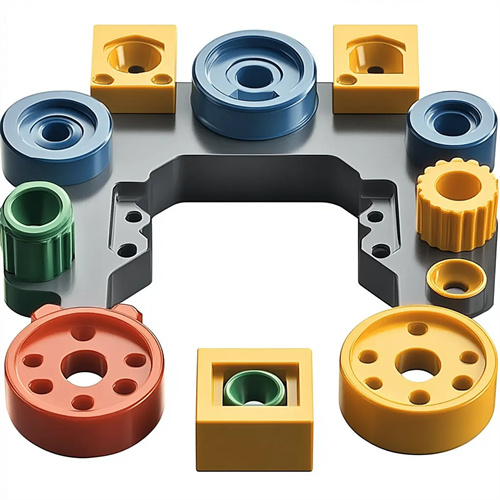
Thread machining processes need to be tailored to the characteristics of composite materials, and traditional thread turning methods need to be modified to reduce defects. During the threading process, the tool should be inserted using a combination of radial and axial feeds to avoid perpendicular impact of the tool edge on the material surface, minimizing fiber breakage and matrix debonding. For high-pitch threads, a step-by-step process of “roughing the thread groove first, then fine-turning the thread profile” can be employed. A 0.1-0.2mm fine-turning allowance should be allowed during roughing, and high speed and low feed should be used during fine-turning to ensure thread profile accuracy. When machining through-hole threads, the tool withdrawal direction should align with the fiber orientation. Retracting in the direction of the fiber can reduce flash caused by forced fiber pull. When machining blind-hole threads, sufficient clearance should be left at the bottom of the hole to prevent the tool from squeezing the material and causing cracks. After threading, residual fibers on the surface must be removed. This can be done with light sandpaper or a dedicated deburring tool to prevent fiber shedding during use, which can affect assembly accuracy.
Quality inspection and defect control are key to ensuring the performance of composite threads, and targeted inspection methods are necessary. Thread dimensional accuracy can be verified using thread gauges. Go gauges should engage smoothly, and stop gauges should not exceed two threads. Thread surface quality should be observed with a magnifying glass or microscope. Defects such as delamination, cracks, and exposed fibers are not permitted, and surface roughness should be controlled below Ra 3.2μm. For load-bearing threads, torque-angle testing is required to verify the strength and stability of the threaded connection and ensure that no stripping or breakage occurs under the design load. If delamination defects are detected, penetrant testing can be used to determine the extent of the defect. Minor defects can be repaired with local repair (such as epoxy resin injection), while severe defects require scrapping. Only through strict process control and quality inspection can the performance of composite threaded workpieces be guaranteed and the material’s advantages be fully utilized.
