Installation requirements for hob spindle and hob
The installation accuracy of the hob spindle and hob cutter directly impacts gear machining accuracy and surface quality, making it a crucial step in gear hobbing. As the key component connecting the hob cutter to the machine tool spindle, the hob spindle’s accuracy, rigidity, and installation method significantly impact the hob’s rotational accuracy, which in turn affects the tooth profile accuracy, pitch error, and surface roughness of the machined gear. Therefore, strict adherence to hob spindle and hob installation requirements is crucial to ensure the stability and accuracy of the entire machining system.
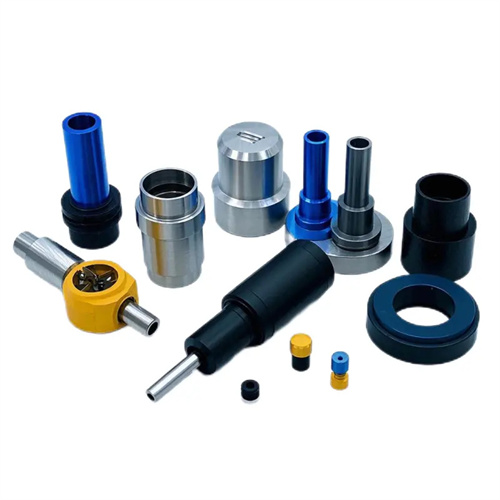
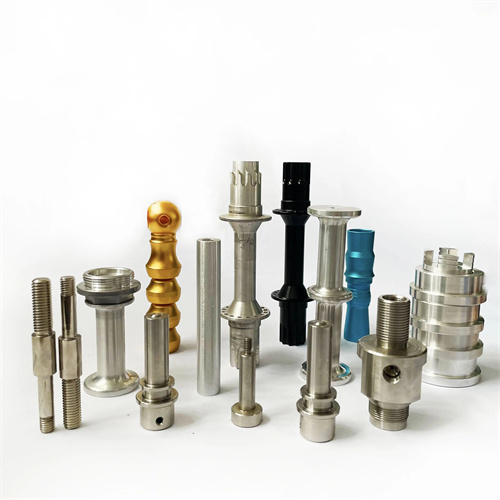
The selection of the hob spindle must meet precision and rigidity requirements. Radial runout of the spindle should be controlled within 0.005mm, and axial play should not exceed 0.01mm to ensure stability during high-speed rotation. The spindle is typically made of high-quality structural alloy steel (such as 40Cr), tempered and precision-ground to increase its hardness (generally HRC 28-32) and surface roughness (Ra 0.8μm or less). The clearance between the spindle and the inner bore of the hob should be strictly controlled, typically using an H7/g6 clearance. Excessive clearance can increase the radial runout of the hob, while too small a clearance can increase installation difficulty and even cause the spindle and hob to become stuck. Furthermore, the spindle length must be appropriately designed based on the width of the hob and the extension of the machine tool spindle to avoid insufficient rigidity and vibration caused by an excessively long spindle.
The installation steps of the hob need to be standardized to ensure installation accuracy. First, the oil, debris and burrs on the inner hole of the hob and the outer circle of the spindle need to be cleaned to ensure that the mating surfaces are clean and smooth. During installation, the hob should be smoothly inserted into the spindle. If the width of the hob is large, washers should be installed on both sides of the hob. The parallelism error of the washers should not be greater than 0.005mm to prevent the hob from tilting axially during rotation. The position of the hob on the shaft should be determined according to the tooth width of the gear being processed to ensure that the effective cutting length of the hob covers the gear tooth width and a certain safety margin is reserved (generally 5~10mm). After installation, the hob and washer need to be tightened with nuts. The tightening force should be uniform and moderate to avoid deformation of the spindle due to over-tightening or loosening of the hob due to over-loosening.
The accuracy inspection after installation is a key step in ensuring the normal operation of the hob. The inspection content includes the radial runout, axial play and end face runout of the hob. The radial runout can be measured at the top circle and root circle of the hob using a dial indicator. The radial runout close to the spindle end should be no more than 0.01mm, and the radial runout away from the spindle end should be no more than 0.015mm. The axial runout can be measured on the end face of the hob, and the error should be controlled within 0.01mm. The end face runout mainly checks the fit between the hob and the washer, and the washer and the nut to ensure that there is no gap. If the accuracy is found to be out of tolerance, it should be reinstalled and adjusted, and the spindle or washer should be replaced if necessary until the requirements are met. For precision gear processing, trial cutting is also required after installation. By measuring the accuracy of the trial-cut gear, the accuracy of the hob installation can be further verified.
The installation of the hob spindle and hob also needs to consider the matching requirements of the machine tool spindle. The connection between the spindle and the machine tool spindle usually adopts a tapered shank (such as Morse taper or 7:24 taper). The contact area of the mating surface should be no less than 80% to ensure the rigidity and concentricity of the connection. Before installing the spindle, the machine tool spindle taper hole and the spindle taper shank need to be cleaned to remove surface scratches and rust. If necessary, apply a small amount of grease to reduce wear on the mating surface. After the spindle is installed in the spindle, it should be tightened with a tie rod. The tension of the tie rod should meet the requirements of the machine tool manual to avoid the spindle loosening due to insufficient tension or the spindle deformation due to excessive tension. In addition, during the processing process, the matching status of the spindle and the installation accuracy of the hob need to be checked regularly. If any problems are found, they should be dealt with promptly to ensure the stability of the processing quality.
