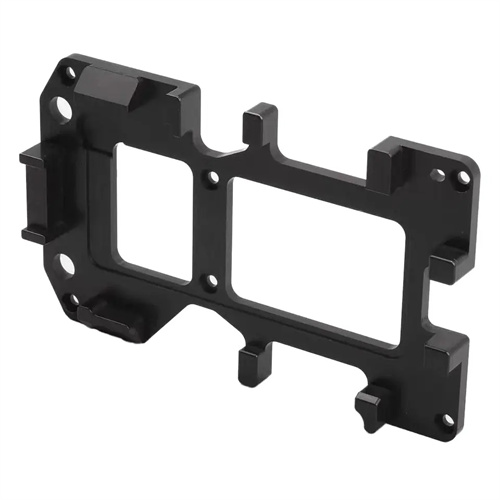
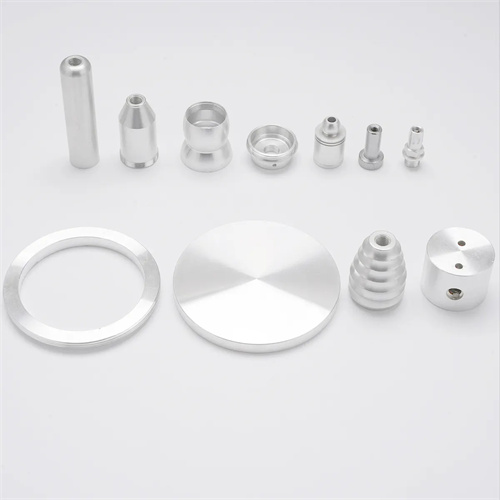
Machining of titanium alloy step sleeve
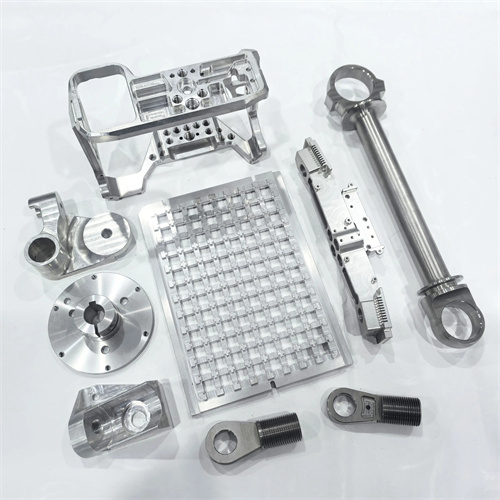
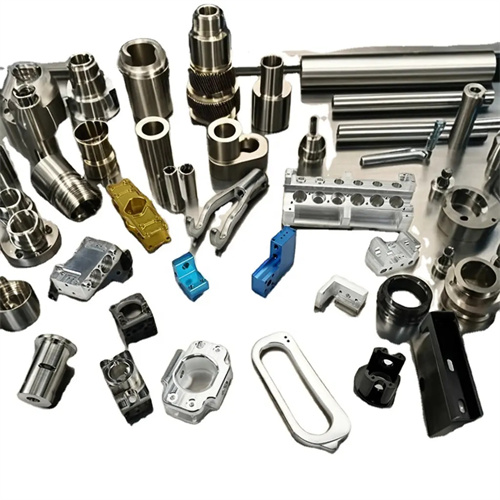
Titanium alloy step sleeves are key components in aerospace, medical devices, and other fields. Their structural characteristics are multiple stepped holes and outer diameters of varying diameters. Their walls are typically thin (1-5mm), requiring high machining precision (dimensional tolerances of IT6-IT7, with geometric tolerances ≤0.01mm). Titanium alloys inherently possess high strength, high toughness, low thermal conductivity (only 1/5 that of 45 steel), and high chemical activity. Machining titanium alloy step sleeves can easily generate high cutting temperatures, tool adhesion wear, and workpiece deformation. Therefore, turning titanium alloy step sleeves requires a targeted process strategy, with strict control over everything from tool selection and clamping methods to cutting parameters.
The choice of tool material is crucial for turning titanium alloy step sleeves, requiring high temperature resistance, adhesion resistance, and wear resistance. Among cemented carbide tools, tungsten-cobalt (YG8, YG6X) and ultrafine-grained carbides (such as WC-10Co) are preferred. These materials have low affinity with titanium alloys, reducing adhesion wear, and offer high bending strength, making them suitable for machining thin-walled step structures. For high-precision step surface machining, coated carbide tools, such as TiAlN-coated WC-Co tools, are recommended. A coating thickness of 3-5μm is recommended, effectively reducing the coefficient of friction (from 0.6 to 0.3) and increasing tool life by 2-3 times. Cubic boron nitride (CBN) tools are suitable for semi-finishing and finishing turning of titanium alloys, particularly for machining β-type titanium alloys with hardness exceeding 35HRC. However, their brittleness necessitates avoiding interrupted cutting. Due to their insufficient heat resistance, high-speed steel tools are only suitable for low-speed finishing (cutting speed ≤ 10m/min) and are used in situations requiring extremely high surface quality (Ra ≤ 0.05μm).
Optimizing tool geometry requires a balanced consideration of cutting force and chip evacuation. The rake angle is typically 5°-10°. A smaller rake angle enhances tool head strength to withstand the high cutting forces of titanium alloys. The back angle is 8°-12° to reduce friction between the back face and the workpiece, preventing surface hardening. The rake angle is -5°-0° to direct chips toward the root of the step, preventing them from scratching the machined surface. For step hole machining, the lead angle for internal turning tools should be 90°-100°, ensuring the step end face is perpendicular to the axis. The tool shank diameter should be 1-2mm smaller than the hole diameter to reduce vibration. The tool shank should be made of high-strength alloy steel (40Cr) and no longer than five times its diameter to ensure sufficient rigidity. The tool tip radius should be designed based on the step radius, typically 0.2-0.5mm, to avoid excessive cutting forces that could cause workpiece deformation.
The design of the clamping method must prioritize addressing the deformation of titanium alloy step sleeves. Due to the uneven wall thickness of the step sleeve, excessive clamping force can lead to excessive ovality or taper. For external turning, a three-jaw chuck with soft jaws is used. The jaws are pre-machined to conform to the workpiece’s outer diameter, increasing the contact area by over 30%. The clamping force is controlled at 5-10 kN, and an axial clamping device is used to prevent axial movement of the workpiece. For internal hole machining, an expansion clamp is used. The expansion clamp is made of polyurethane rubber and hydraulically controls the uniform expansion of the inner hole. The expansion force decreases with decreasing wall thickness (≤3 kN for thin walls), thus preventing radial deformation. For step sleeves with an aspect ratio exceeding 5, additional steady rest support is required. The support block is made of bronze, and the contact area with the workpiece is inlaid with a polytetrafluoroethylene sheet to reduce friction and prevent surface scratches. Before clamping, the workpiece should be aged (500°C for 4 hours) to eliminate residual stresses from forging or heat treatment and minimize machining distortion.
Cutting parameters must balance machining efficiency and quality. Cutting speed is a key parameter. Maintain a range of 30-60 m/min for rough turning, reducing it to 15-30 m/min for finish turning. Lower cutting speeds reduce cutting temperatures (keep below 300°C) and prevent titanium alloy oxidation and tool sticking. Feed rate should be 0.05-0.2 mm/r. A higher feed rate (0.15-0.2 mm/r) is recommended for rough turning to improve efficiency, while a lower feed rate (0.05-0.1 mm/r) is recommended for finish turning to ensure surface quality. The depth of cut should be determined by the step height, with each cut not exceeding one-third of the wall thickness. For example, for a 3mm-thick step, the depth of cut should be ≤1 mm. Layered cutting should be used to minimize deformation. The cooling and lubrication system should be designed with high pressure and high flow. Use an extreme pressure emulsion (containing sulfur and phosphorus additives) with a concentration of 10%-12% and a pressure of 10-15 MPa. A dual-channel nozzle should be used to cool the rake and flank faces of the tool, with a flow rate of ≥25 L/min, to ensure timely dissipation of cutting heat.
Quality control must cover dimensional accuracy, form and position accuracy, and surface quality. Each completed step is measured immediately. A three-dimensional coordinate measuring machine is used to check the step diameter (accuracy ±0.001mm) and the step surface perpendicularity (≤0.005mm). A laser diameter gauge is used to monitor the roundness of the outer diameter and inner hole (≤0.003mm) online. Surface quality is tested using a white light interferometer. The roughness Ra must be controlled below 0.4μm, and no signs of adhesion or scratches are allowed. Excessive deformation can be corrected using a cold straightening process (applying 0.5%-1% plastic deformation), but the residual stress after straightening must be ≤100MPa. After completion, fluorescent penetrant testing is performed to check for microcracks at the step root to ensure component safety. Through strict process control, the qualified rate of titanium alloy step sleeves can be increased to over 95%, meeting the requirements of high-end equipment.
